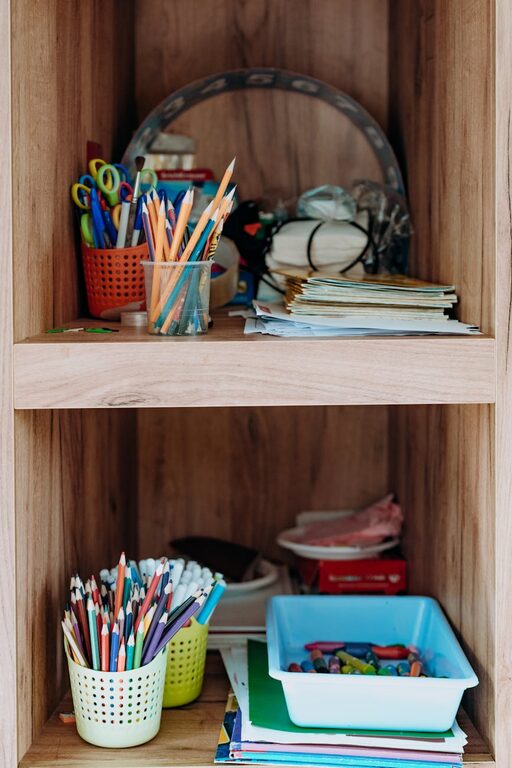
Keeping your kids’ artwork organized can be a delightful yet challenging task. Children often bring home a masterpiece almost every day, and before you know it, the fridge, drawers, and countertops are overflowing with colorful drawings, paintings, and craft projects. While each piece is precious, managing this growing collection in a way that both honors your child’s creativity and keeps your home tidy is essential. Here are some practical and creative tips to help you keep kids’ art organized and clutter-free.
Why Organizing Kids’ Art Matters
Organizing kids’ artwork isn’t just about tidiness. It:
– Preserves memories: Children’s art often captures their growth and imagination.
– Encourages creativity: An organized space can inspire more creativity.
– Reduces clutter stress: A designated system keeps your home looking neat.
– Supports teaching moments: Organizing together teaches responsibility and pride.
1. Create a Dedicated Art Display Area
Kids love seeing their work showcased. Designating a special spot for their art can help manage what’s on display and prevent clutter buildup.
Tips for a Kid-Friendly Art Wall
– Use a corkboard, magnetic board, or wire with clips for easy swapping.
– Rotate artwork regularly—weekly or monthly—to highlight new pieces.
– Encourage your child to select their favorites to display.
– Integrate display frames with quick-swap openings to protect and present art.
2. Use a Portfolio or Binder
A portfolio or binder is a simple, space-saving way to store flat artwork.
How to Set It Up
– Purchase a large, sturdy art portfolio or a three-ring binder with plastic sleeves.
– Label sections by year, theme, or child’s age.
– Let your child help choose which pieces to save and file.
– For bulky art (like collages), take a photo to include in the binder.
3. Digitize Artwork for Easy Storage
Photographing or scanning art is a fantastic way to keep a permanent record without physical clutter.
Digital Storage Strategies
– Create folders organized by date or child’s name on your computer or cloud service.
– Use art apps designed for storage and sharing, like Artkive or Keepy.
– Make digital photo books as gifts or keepsakes.
– Back up digital files regularly to avoid loss.
4. Set Limits and Make Choices
It’s important to find a balance between saving memories and managing space.
Decisions to Consider
– Decide on a reasonable amount of space for keeping originals.
– Involve your child in choosing which pieces to keep.
– Use a “one-in, one-out” system: when a new piece arrives, consider retiring or digitizing an old one.
– Recycle or repurpose art used for wrapping paper or cards.
5. Use Storage Boxes for 3D and Bulkier Projects
Not all artwork can be flattened and stored in binders. For sculptures, pottery, or other dimensional crafts, use boxes or bins.
Organizing 3D Art
– Acquire clear plastic bins or decorative boxes with lids.
– Label each box by child and year.
– Store the boxes in a designated space like a closet or shelf.
– If necessary, take photos of larger items before donating or discarding.
6. Turn Art into Functional Items
Transforming your child’s creations into items you can use or gift can be a wonderful way to preserve memories.
Creative Ideas
– Create calendars, mugs, or t-shirts from scanned artwork.
– Make greeting cards or gift tags.
– Laminate drawings to create placemats.
– Frame special pieces as art for your home.
7. Establish a Routine
Regularly sorting and organizing artwork prevents overwhelming piles.
Practical Tips
– Set a weekly or monthly “art review” time.
– Use it to decide on displaying, storing, discarding, or digitizing.
– Make it fun by including your child and celebrating their work.
– Combine the routine with other organizing chores to save time.
8. Encourage Thoughtful Art Creation
Teaching kids to be mindful about their art can help you maintain better organization.
Tips for Parents
– Provide specific art supplies and space to reduce random scraps.
– Encourage finishing or completing projects before starting new ones.
– Praise quality and effort over quantity.
– Discuss and plan what to do with art once completed.
Final Thoughts
Organizing your kids’ artwork doesn’t have to be overwhelming. With a clear plan and some creative storage solutions, you can keep these precious memories safe and your home tidy. Involve your children in the process to empower them and make organizing a fun activity rather than a chore. Celebrate their creativity while enjoying a clutter-free space that honors their artistic journey.
—
If you found these tips helpful, share your own ideas or photos of your kids’ art organization strategies in the comments below!

